Today we are going to teach you a really fun and useful technique: how to create a lacy design by dropping a stitch, and we are going to combine it with a very original V-shape design. It is perfect to use for your favorite knitted garments and home accessories, a cushion or throw pillow, for example.

For this step-by-step tutorial we used a skein of our Pima cotton and a pair of our size 8 beechwood knitting needles.
Before beginning, as always, we give you a list of stitches you will need to know how to do:
- How to cast on
- How to knit
- How to purl
- How to yarn over
- How to increase 1
- How to knit 2 together (K2TOG)
- How to SKPO (slip, knit, pass over)

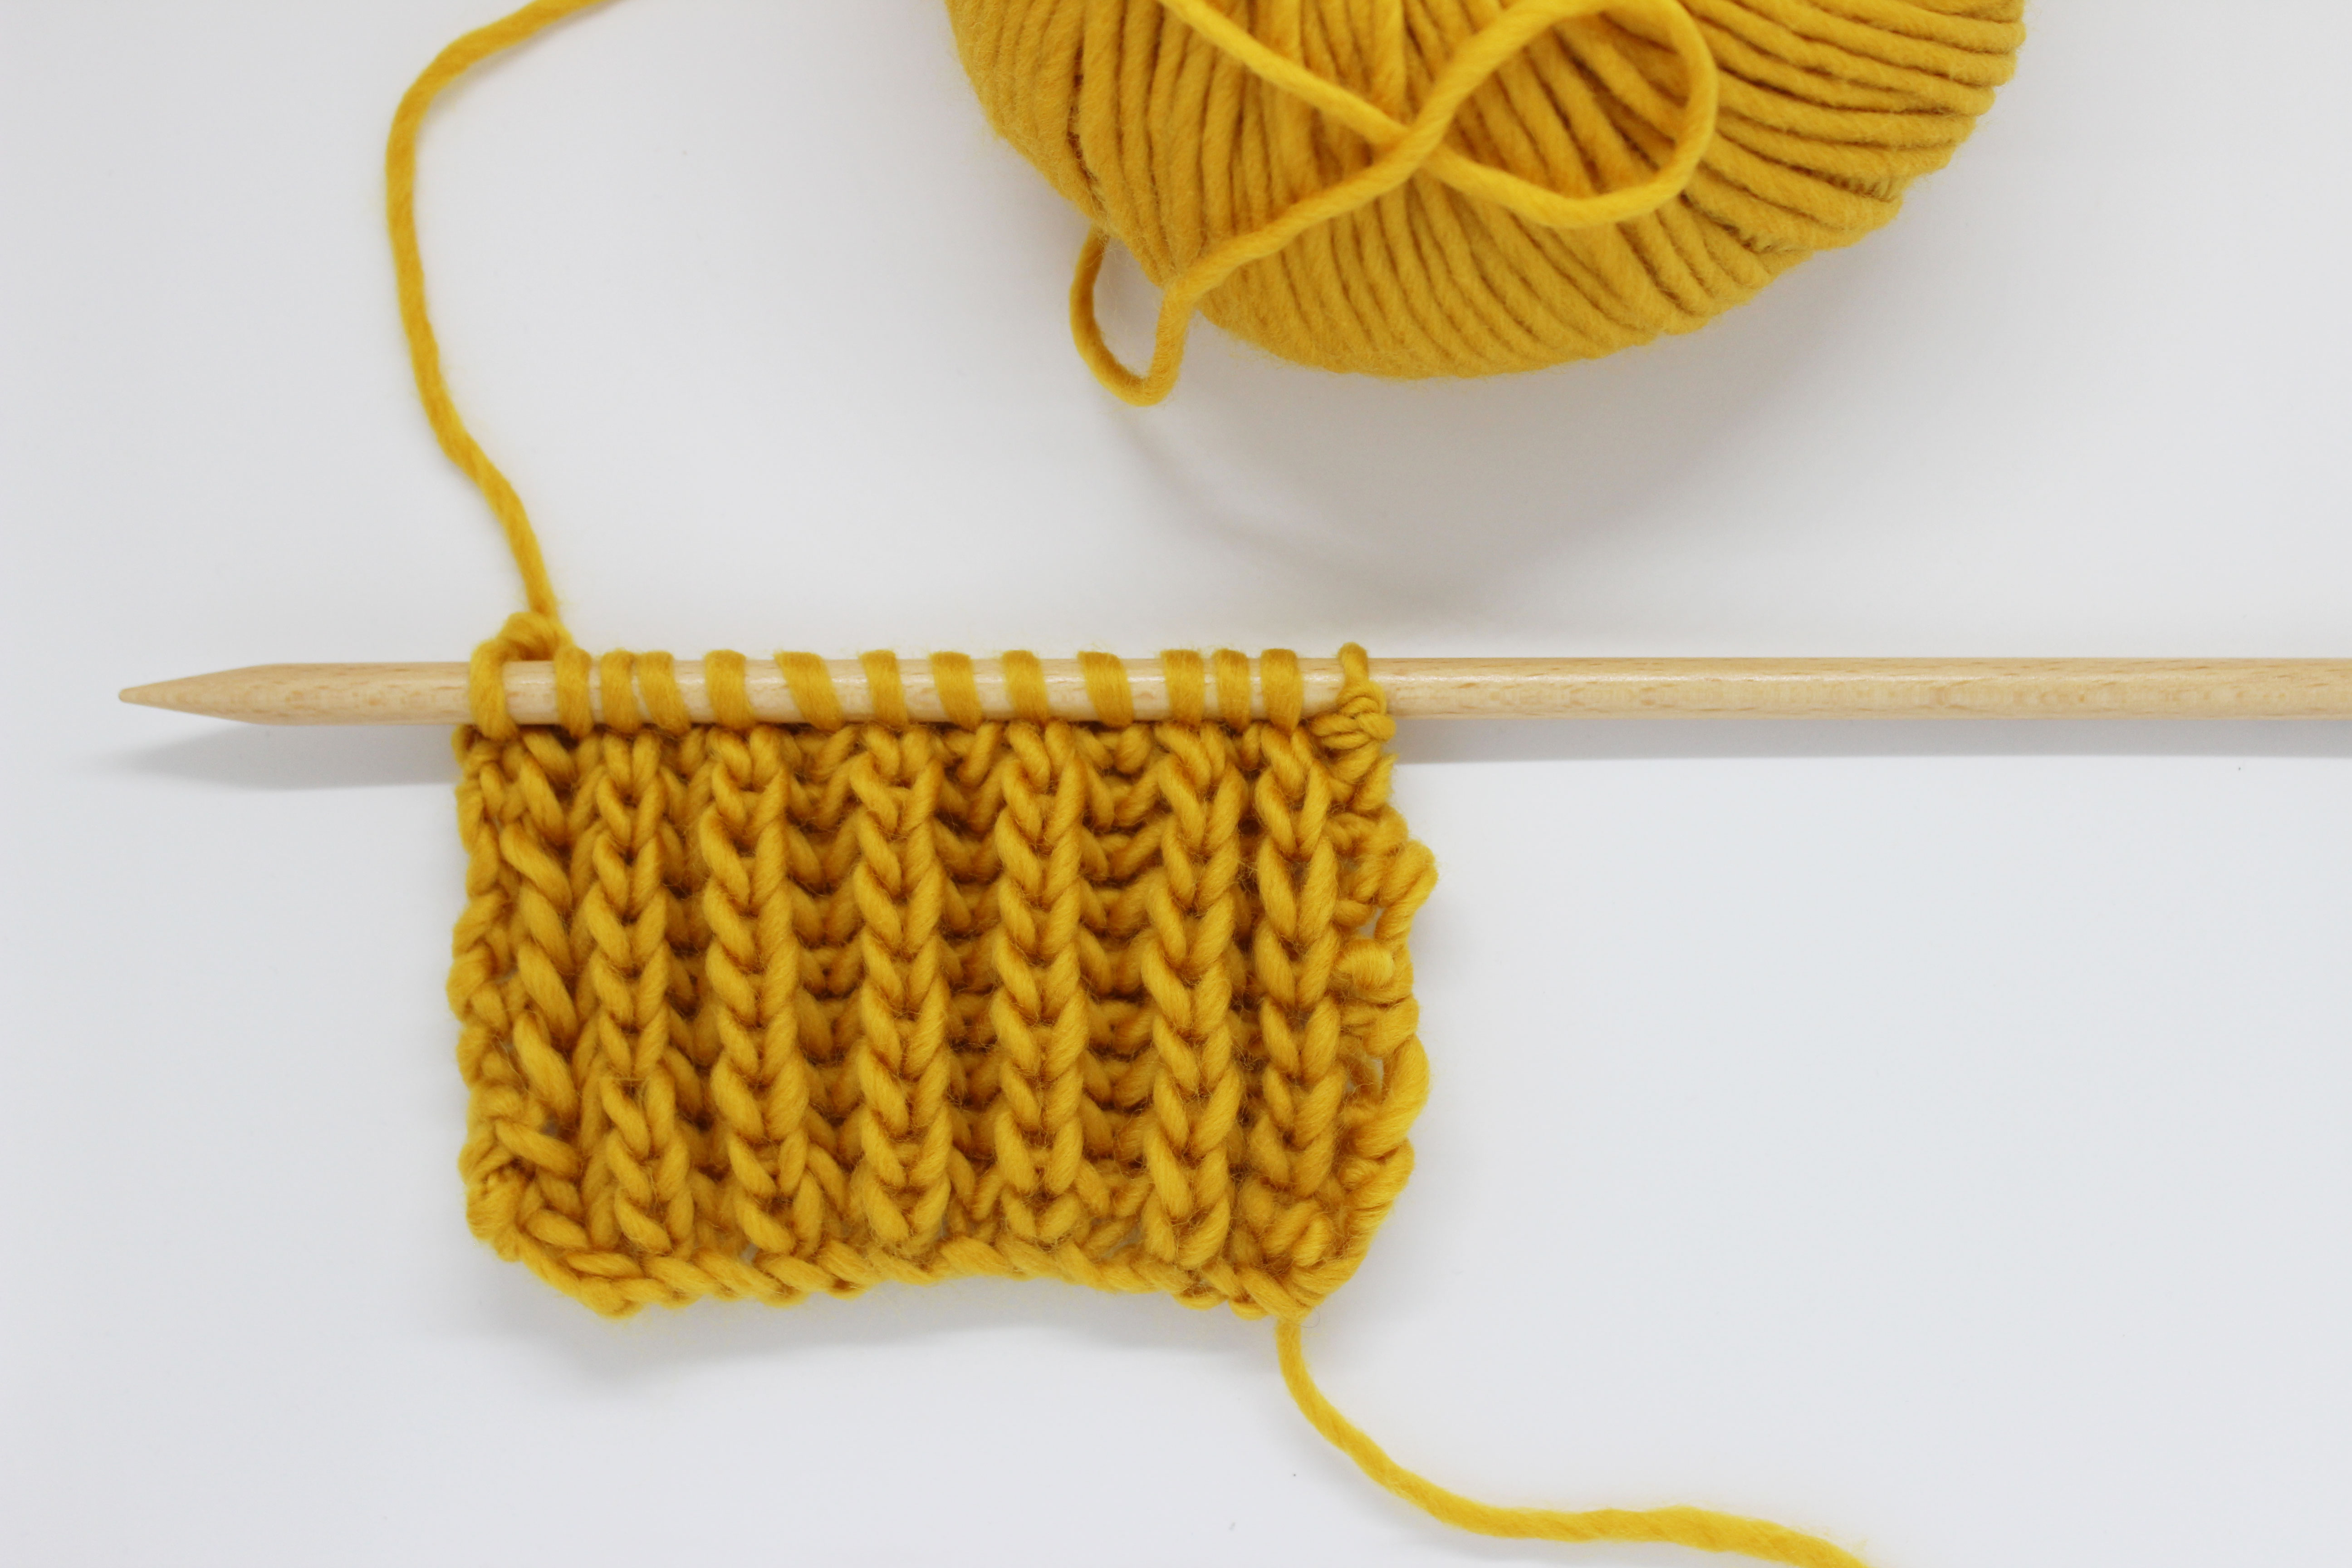
To start we are going to cast on an odd number of stitches, so that the pattern we are going to make will be centered on the fabric. For our example we cast on 27 stitches for our swatch.

For our example we have aleady knitted a few rows of stockinette stitch, until we reached the desired length where we want to start the design in our pattern. You should do the same, knit as many rows as you want, depending upon your project. For a t-shirt, for example, you sould start higher, or for a cushion, try to center the design.

Starting row: the first thing you have to do is locate the center stitch, before and after this stitch you have to yarn over. Knit the rest of the stitches on the row.

Row 1 of the pattern (right side)
Now we have to calculate the stiches that we have on either side of the design, to do so we will do the following calculation: total number of stitches in the row (in our case, 29) – 7 = 22
And the result of this calculation we will divide in 2. So, we will have 11 stitches on each side of the design.
We will work this row in the following sequence:
Knit 11 stitches, then knit 2 together, knit 1, increase 1, knit 1 stitch (this is our center stitch), increase 1 again, work 1 SKPO, and knit the last 11 stitches of the row.
We marked the stitches on the sides in fucshia , and the center stitches in green, because next we will explain how to vary these stitches to create the V-shape.

Wrong side row: purl all stitches

Row 2 of the pattern (right side)
For the following rows where we work the pattern stitch, we continue to decrease 1 stitch on each side, and increase 2 stitches in the center. We will continue like this:
Knit 10 stitches, knit 2 together, knit 1, increase 1, knit 3 stitches (these are our center stitches), increase 1 again, work 1 SKPO, and knit the last 10 stitches.

Wrong side row: purl all stitches

Row 3 of the pattern (right side)
We will continue to decrease 1 stitch on the side and increase 2 stitches in the center. We will work this row as follows:
Knit 9 stitches, knit 2 together, knit 1, increase 1, knit 5 (these are our center stitches), increase 1 again, work 1 SKPO, and knit the last 9 stitches.

Wrong side row: purl all stitches

We will continue to work the V-shape on the rows of the right side of the fabric. To do so, just as we did for rows 1, 2 and 3: decrease 1 stich on the sides, and increase 2 in the center. We will continue to work in the way until you reach the desired length of the design.
Continue to purl the wrong side rows.

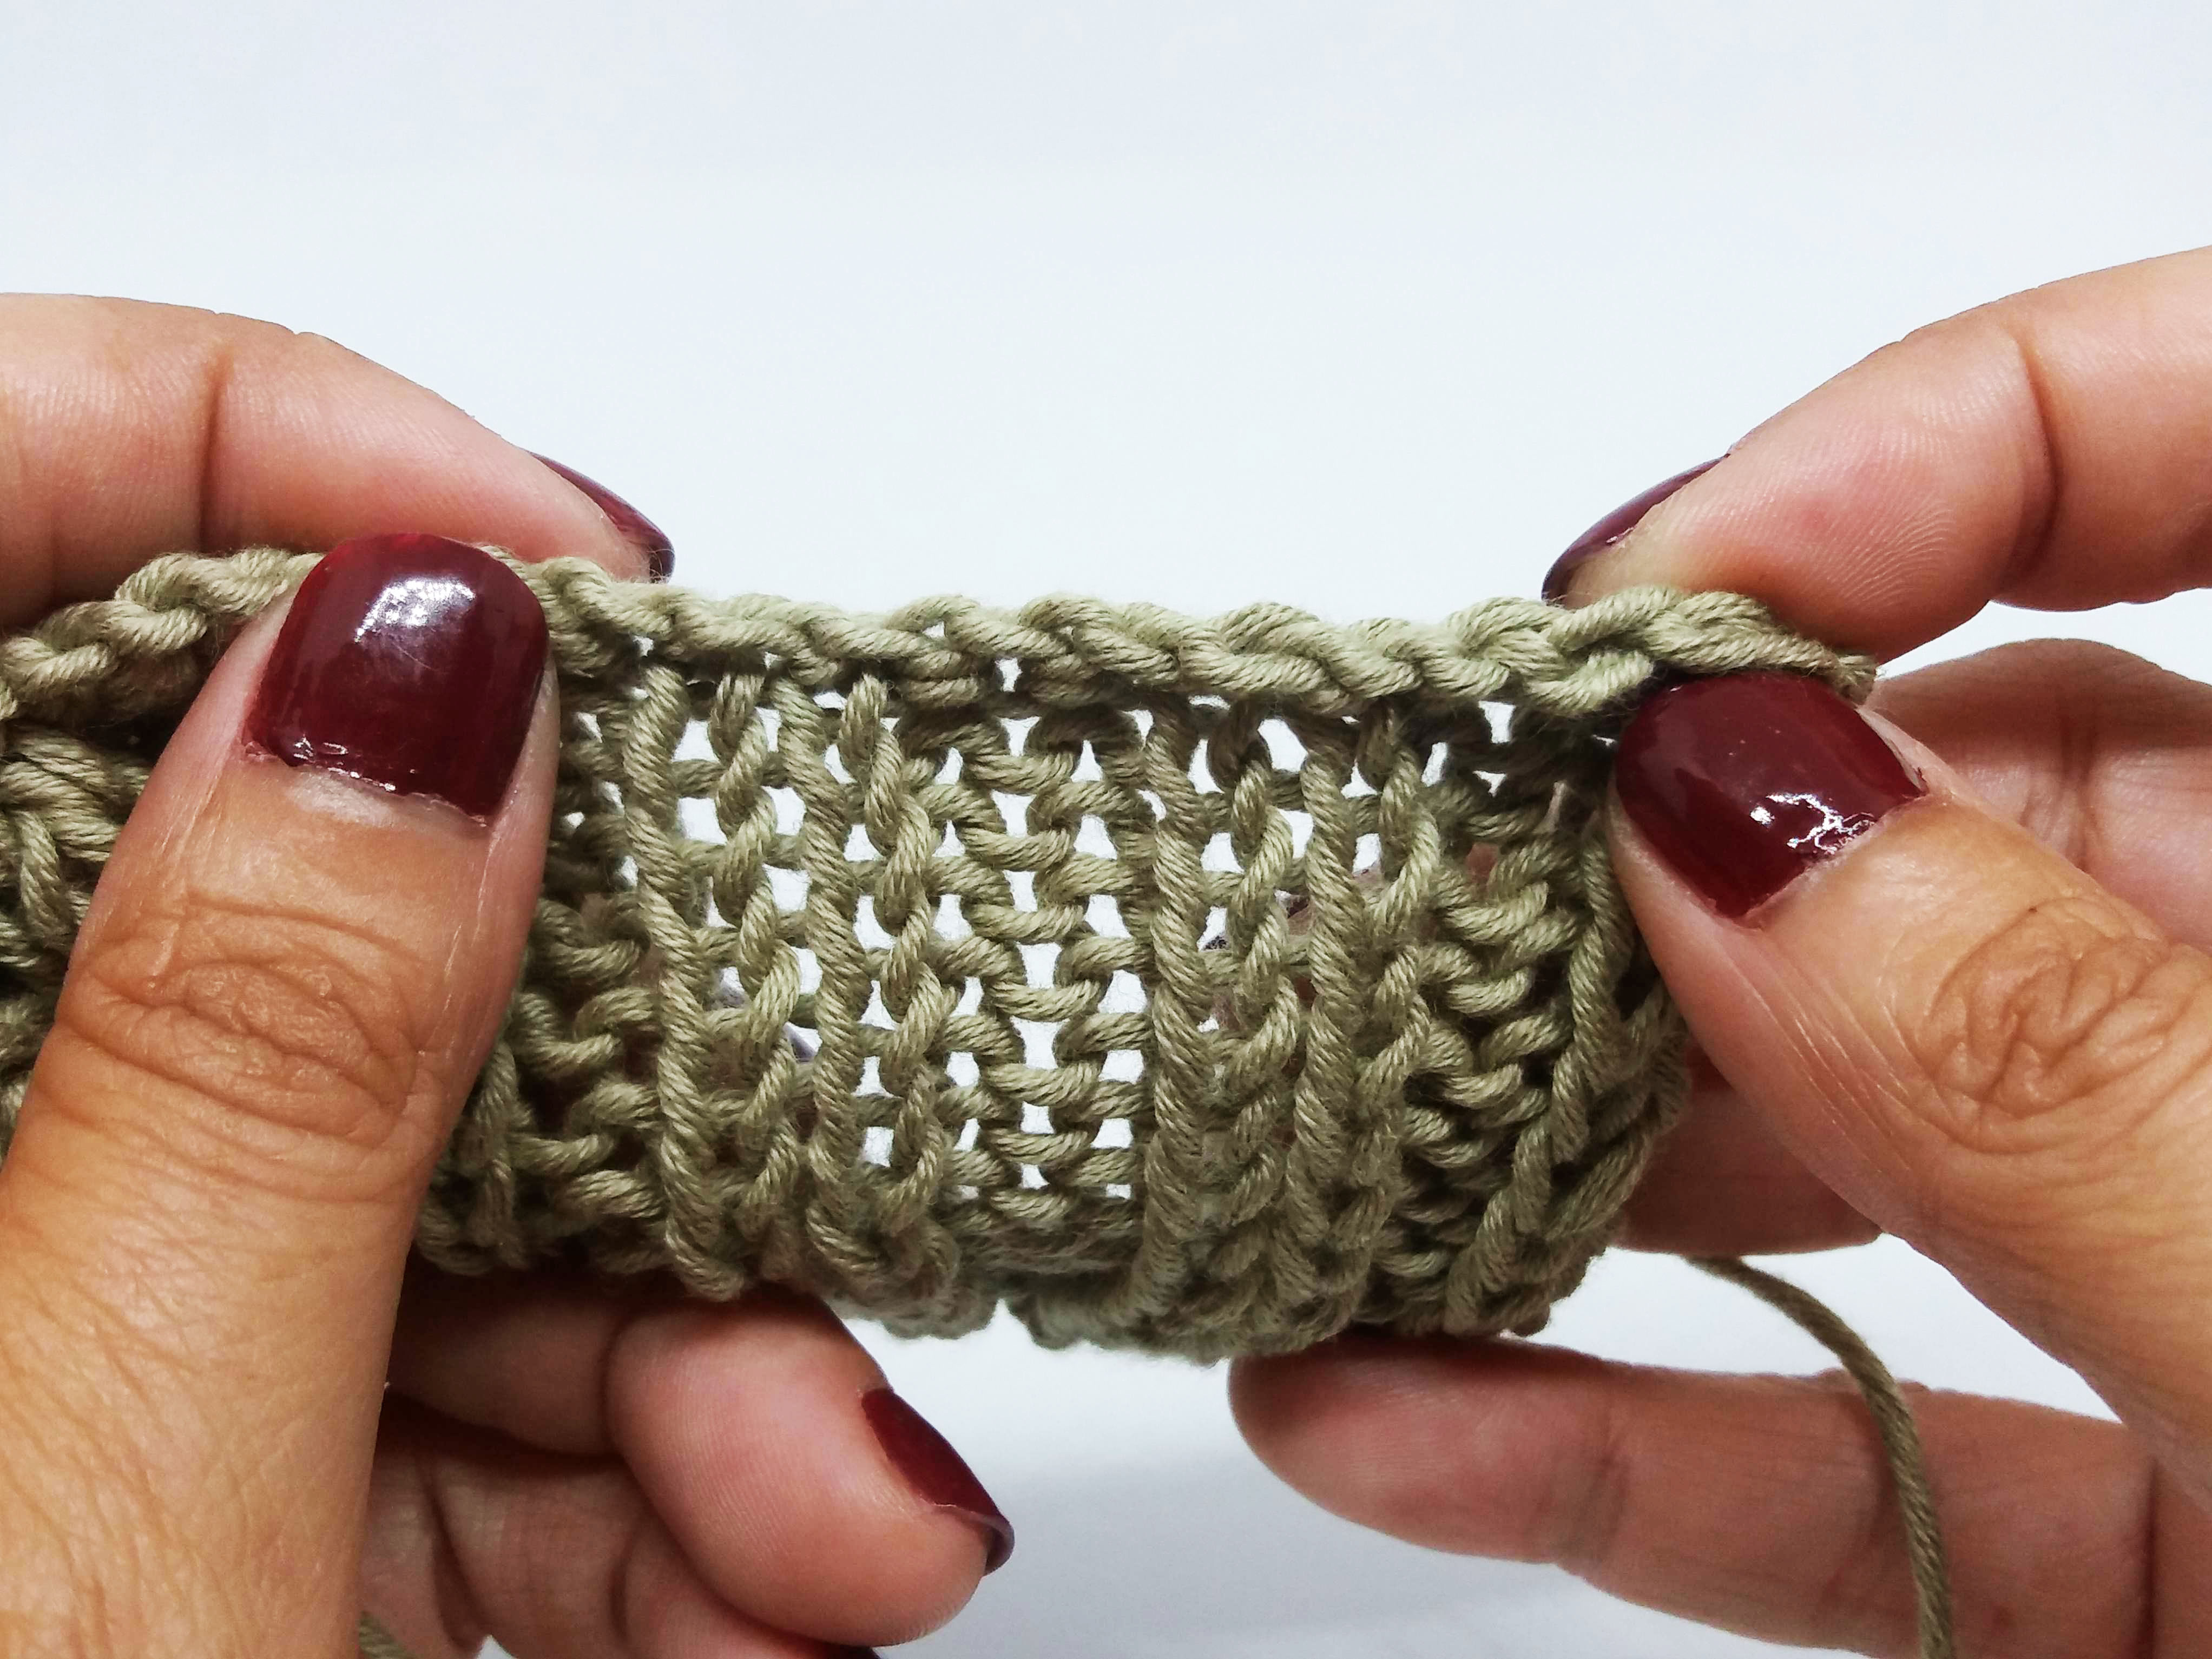
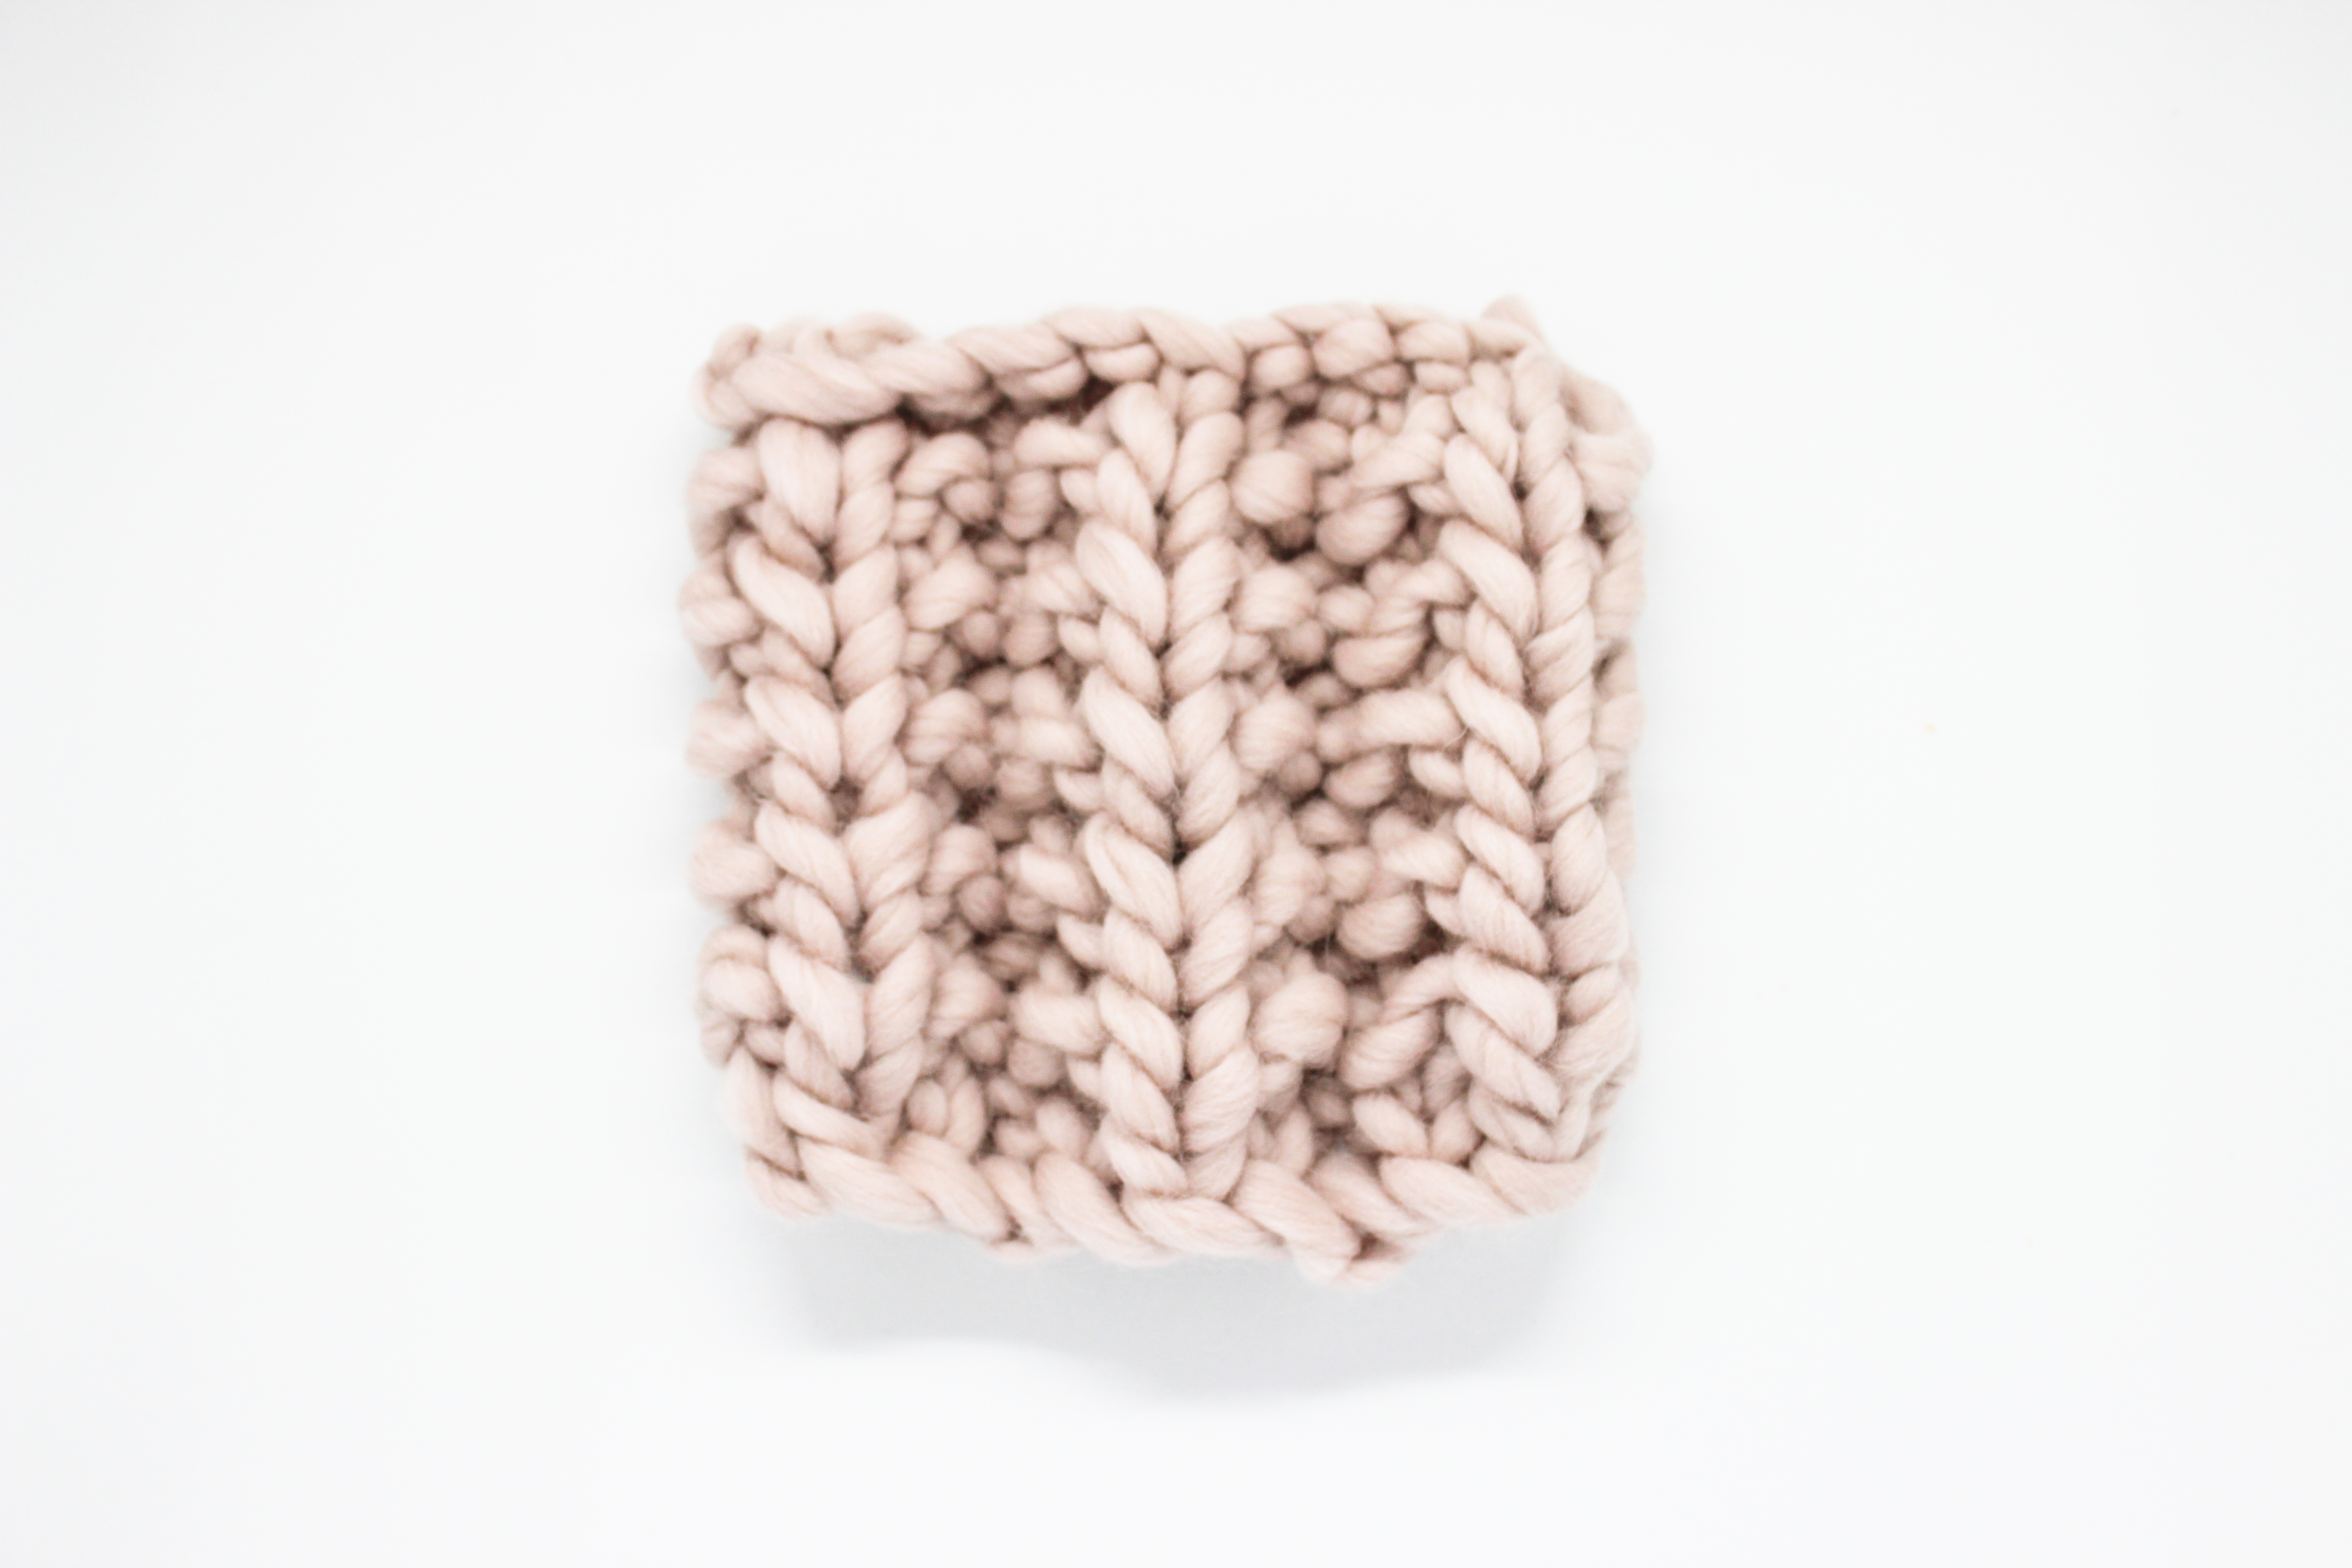
This is what it will look like once we have finished knitting the rows where the drop-stitch pattern will appear.
Now we are going to drop the stitch that will create our design in the fabric. We made a video so that you can watch how it is done:
It’s fast and fun to do.

As you saw in the video: we drop the stitch on the next right-side row at the same time as we complete the bind off. To find the stitch that we have to drop, look at the fabric and follow, from the lace work up, the stitch above.

That is the one you will drop, since the lace you have at the end will act as a buffer so that the whole fabric does not unravel. To bind off this stitch, yarn over, and then bind off as usual.

You can use this type of drop-stitch lace work in countless ways, not only with the V-shape that we taught you today. If you want to make it vertically, just place the lace work where you want it to stop and continue working in stockinette stitch.
We would love for you to share your projects where you use this technique using the hashtag #weareknitters.