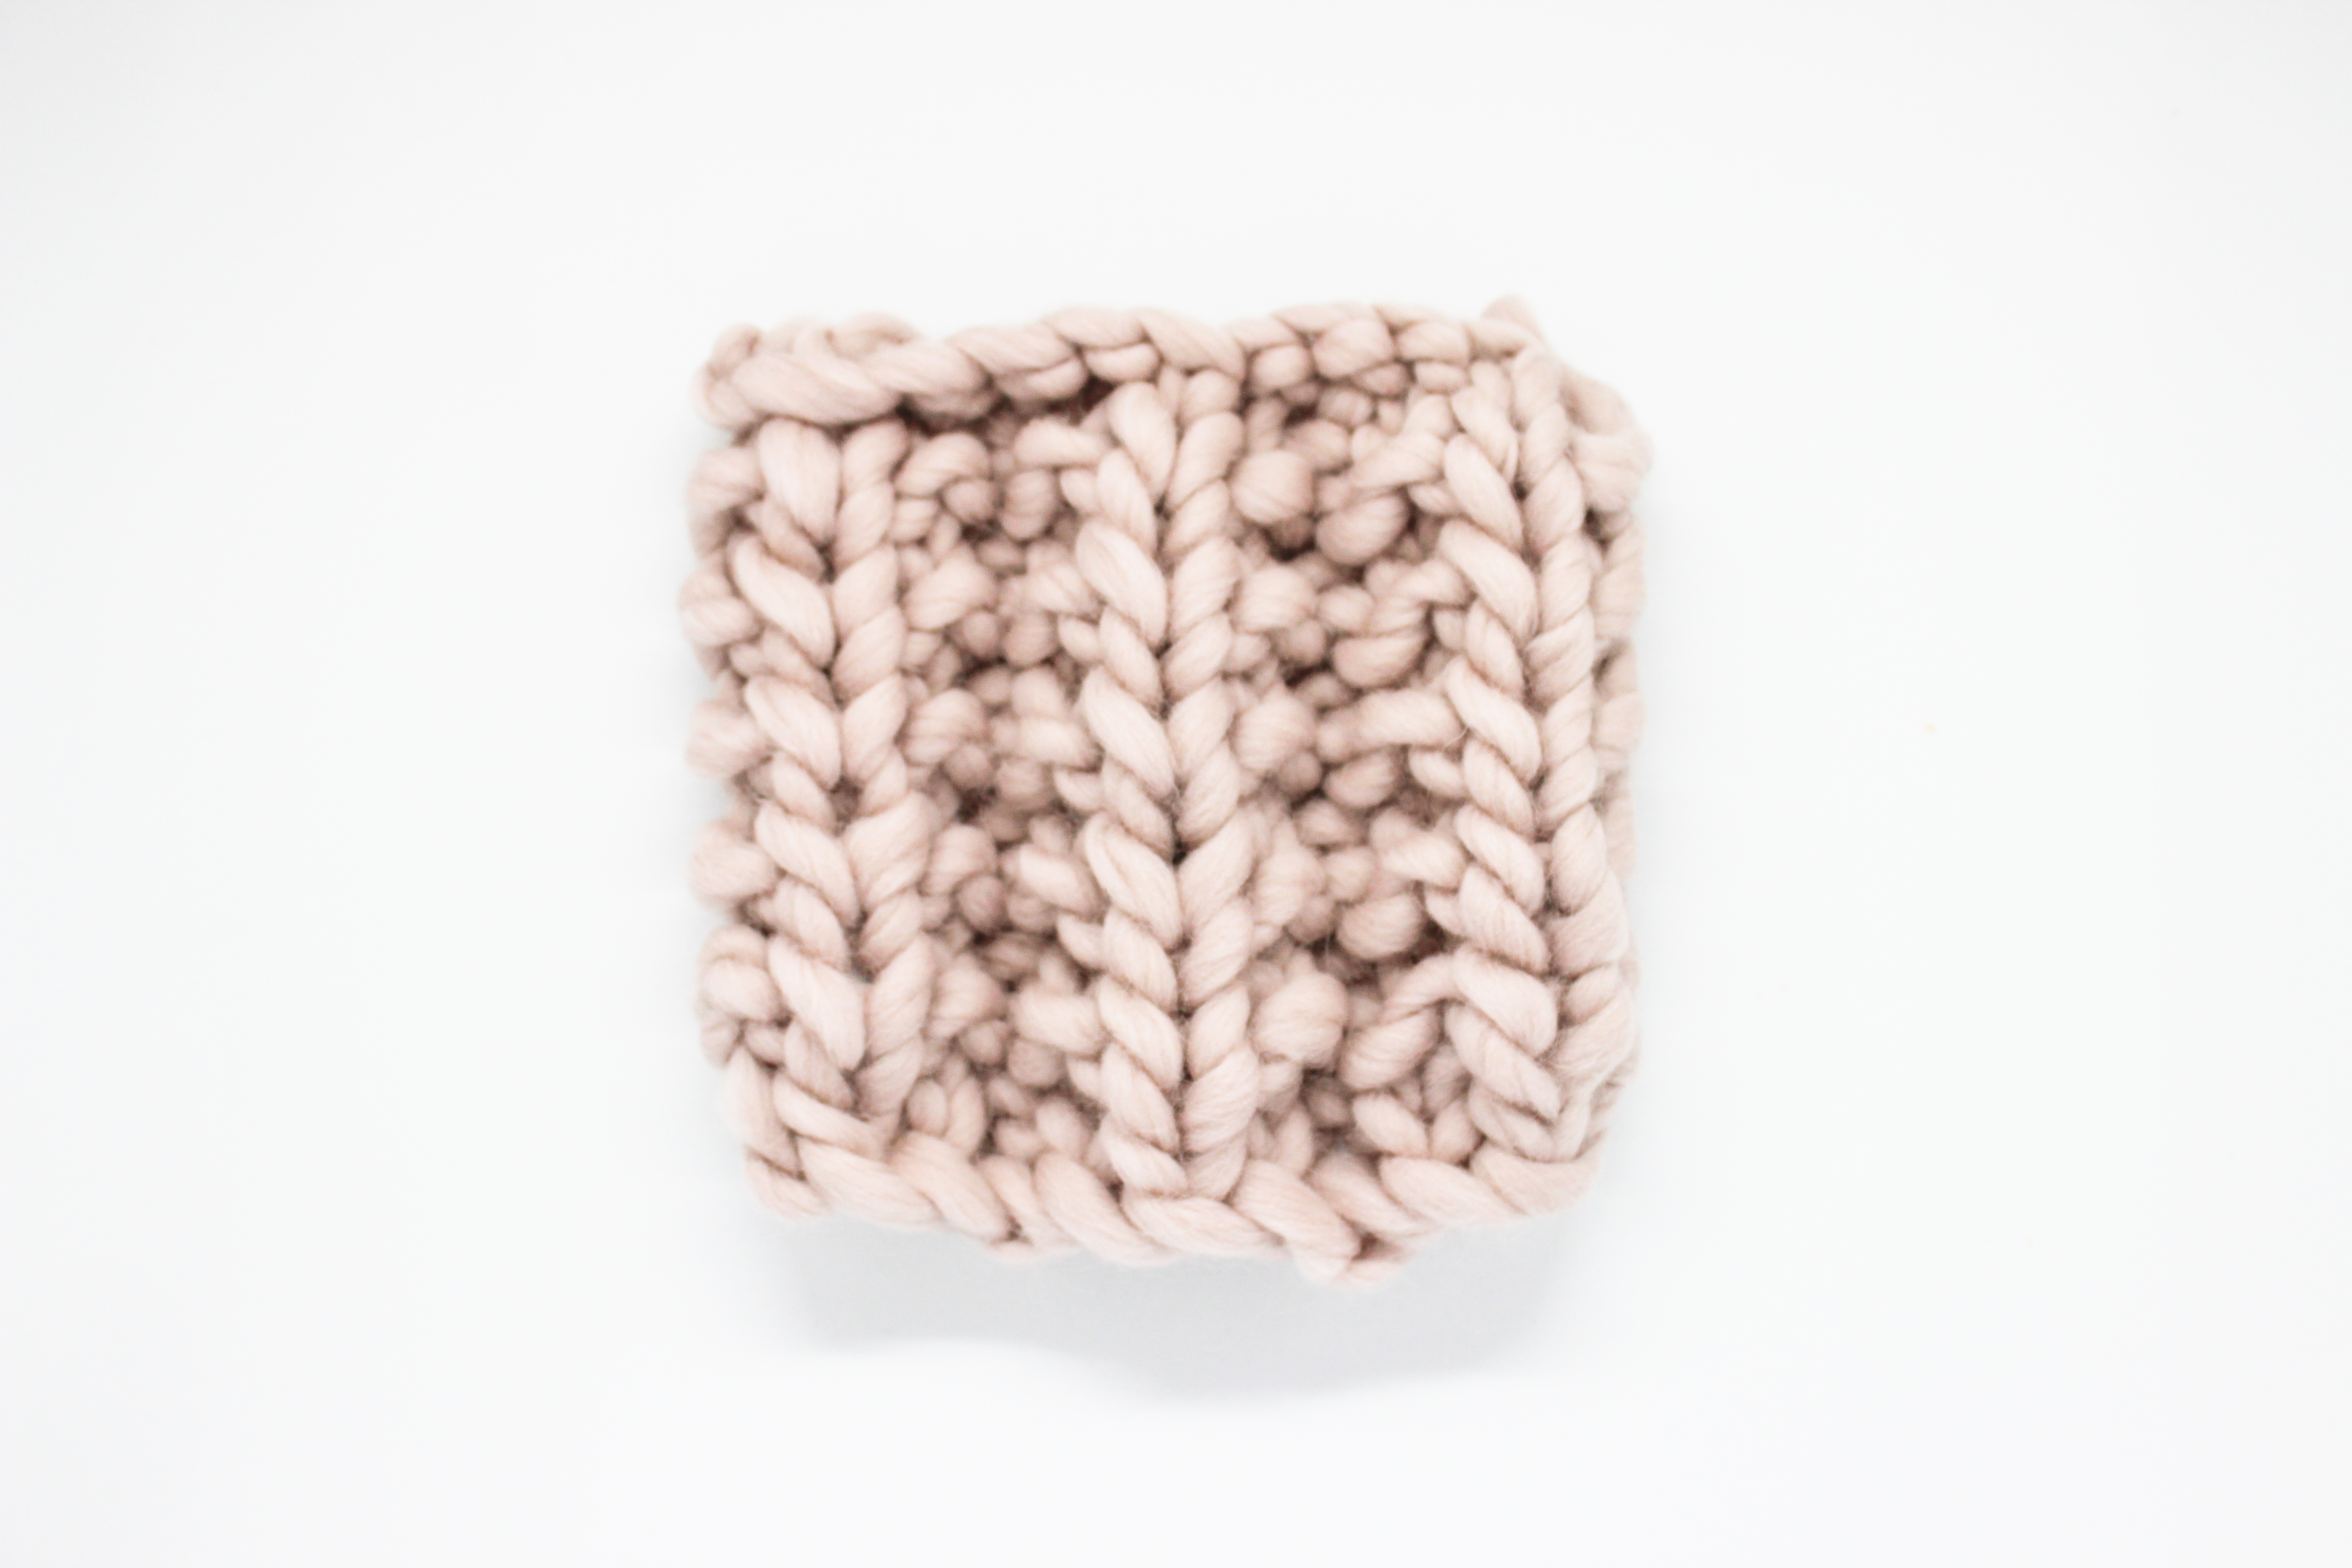
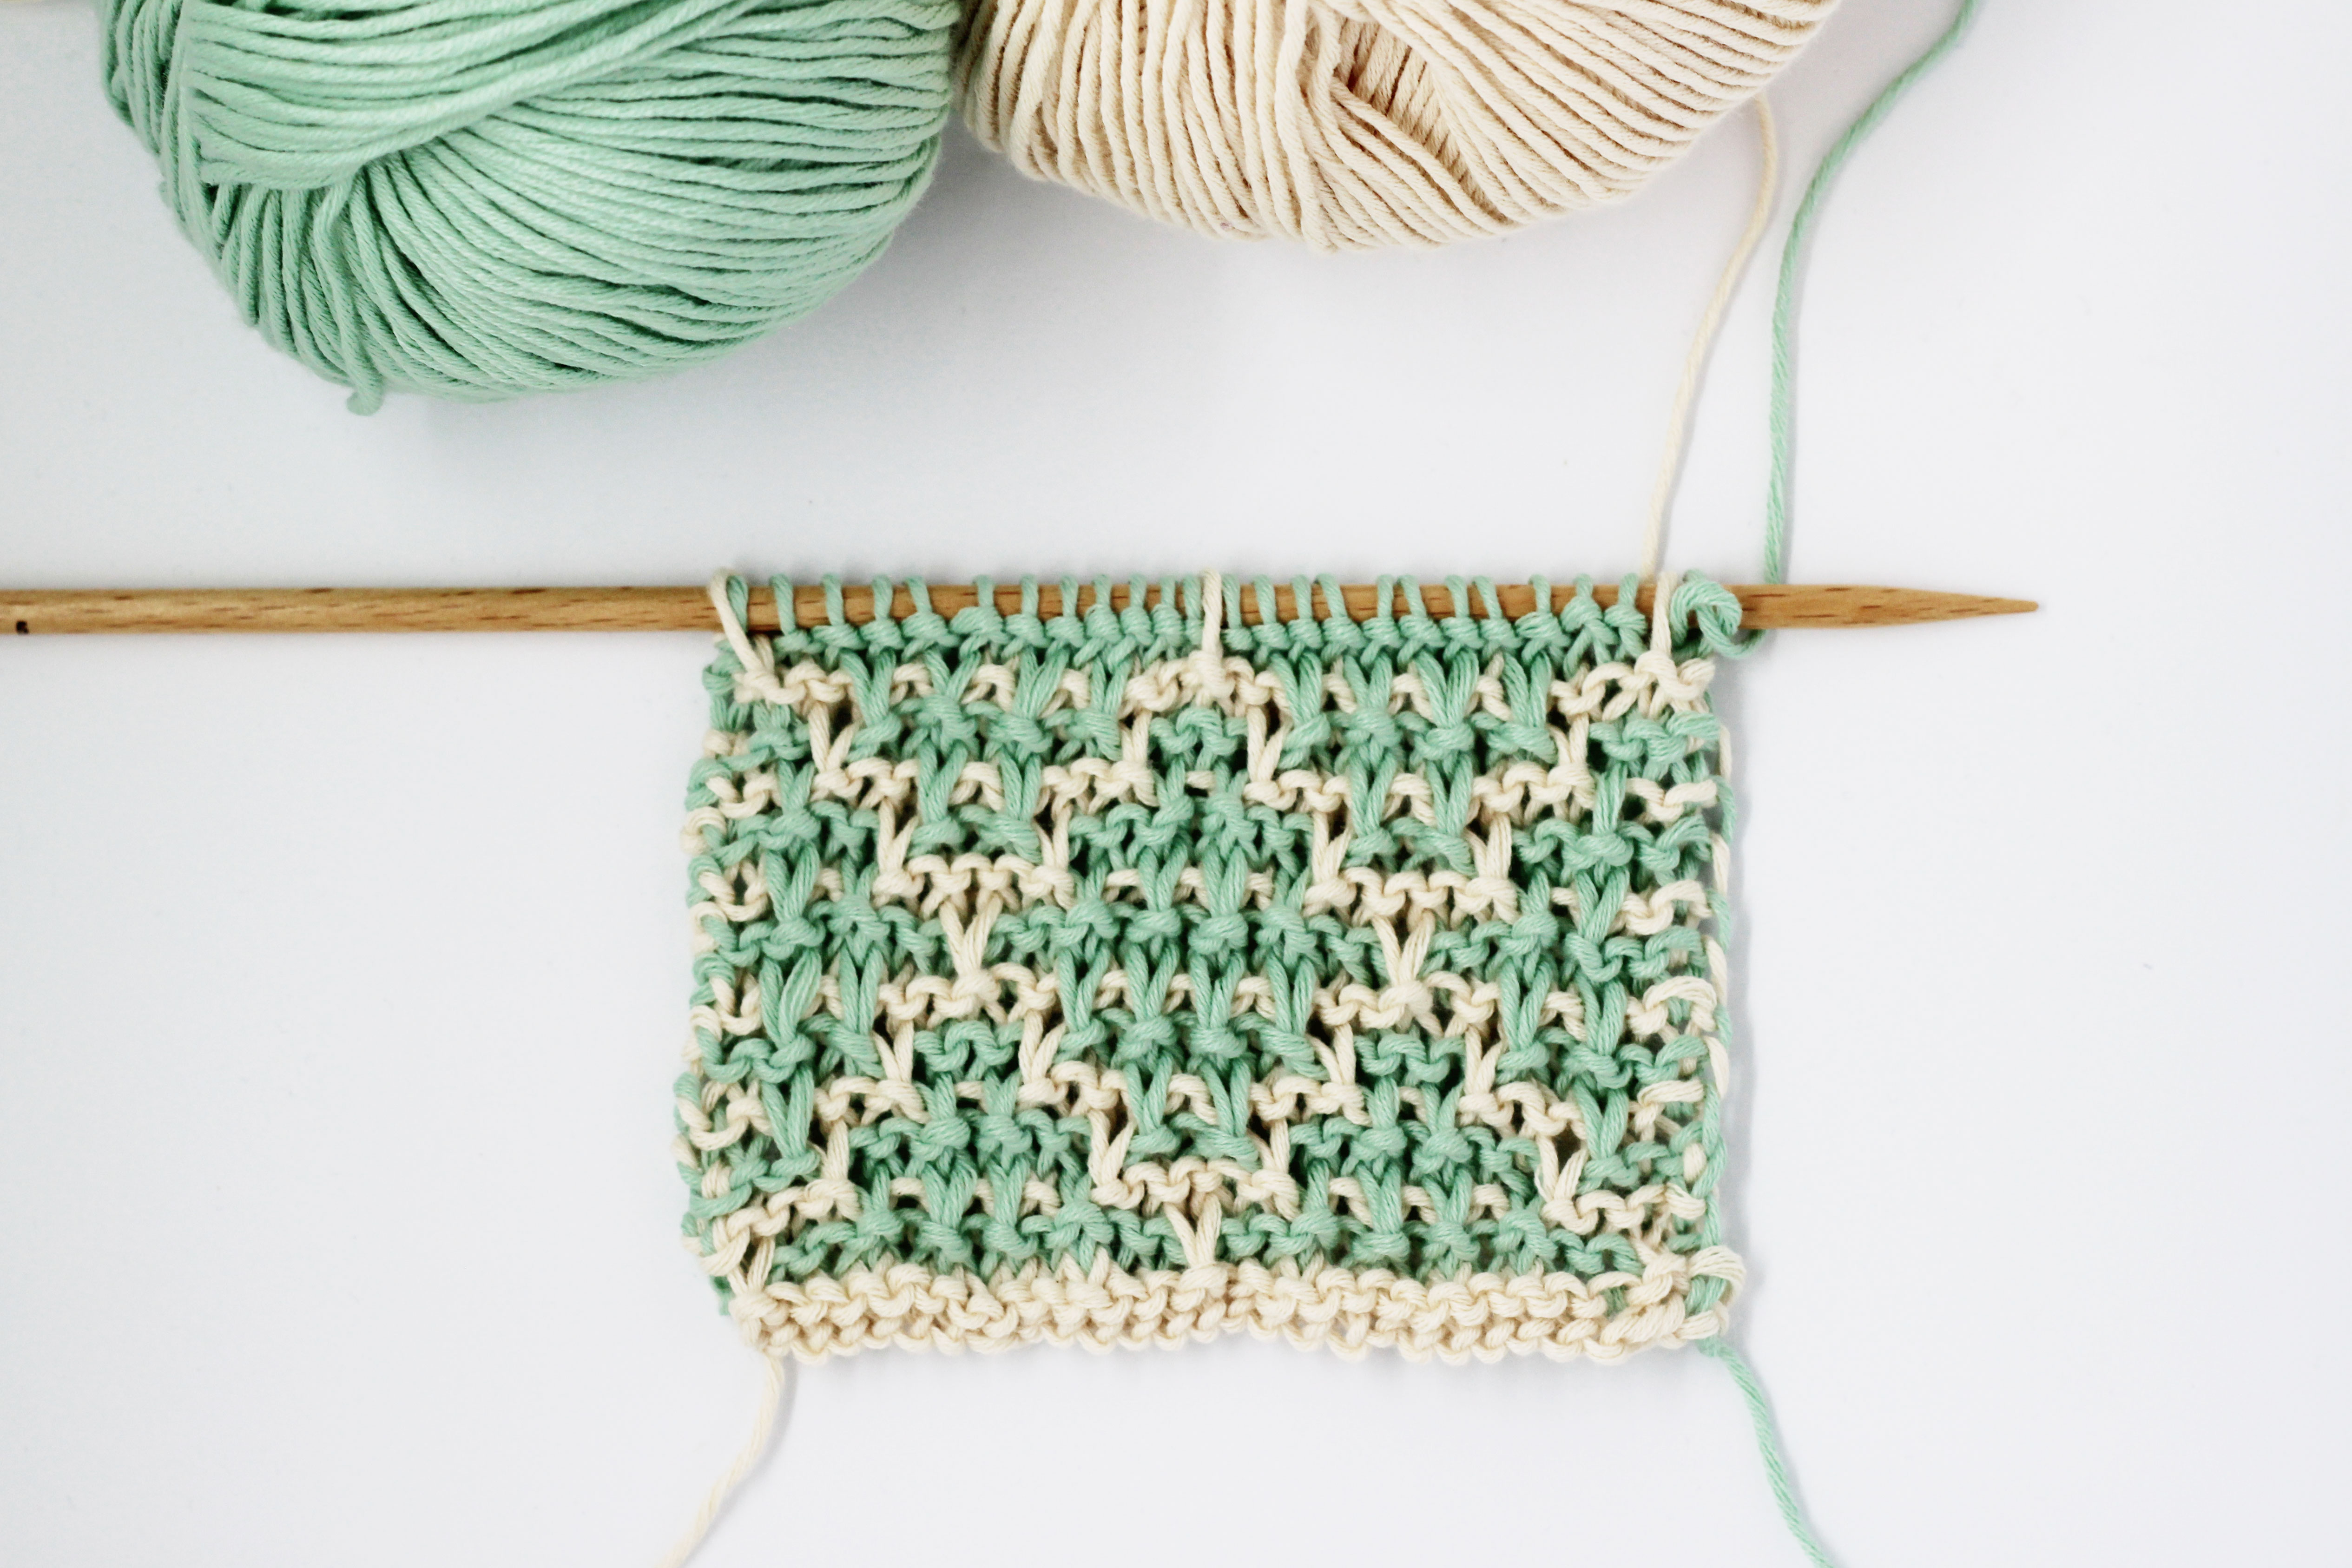
In this post we will see an example of how we would knit a diamond design with intarsia and jacquard. The design can be as wide as you want o if you prefer, you can do your own: you just need a couple of skeins in different colors, a grid sheet of paper, and a pencil. If you do your own design, remember: the even rows must be read from right to left, and the odd ones from left to right. So, let’s do this!

For this tutorial we used one skein of Pima cotton in natural color, one skein of our Twist and Shout (which we previously winded into a ball, here is the process of how to wind a hank of yarn into a ball), and our beechwood knitting needles size US 8 (5 mm).
The stitches we will use and that it would be useful to practice for this step-by-step are the following:
Also, here’s a post where we explain some tricks so your jacquard is perfect.
Before we begin we will identify which color is A (the base) and which is B (which creates the design). We have picked the natural color, which will work as a base, as color B, and the brown color as B, which will create the little diamonds.

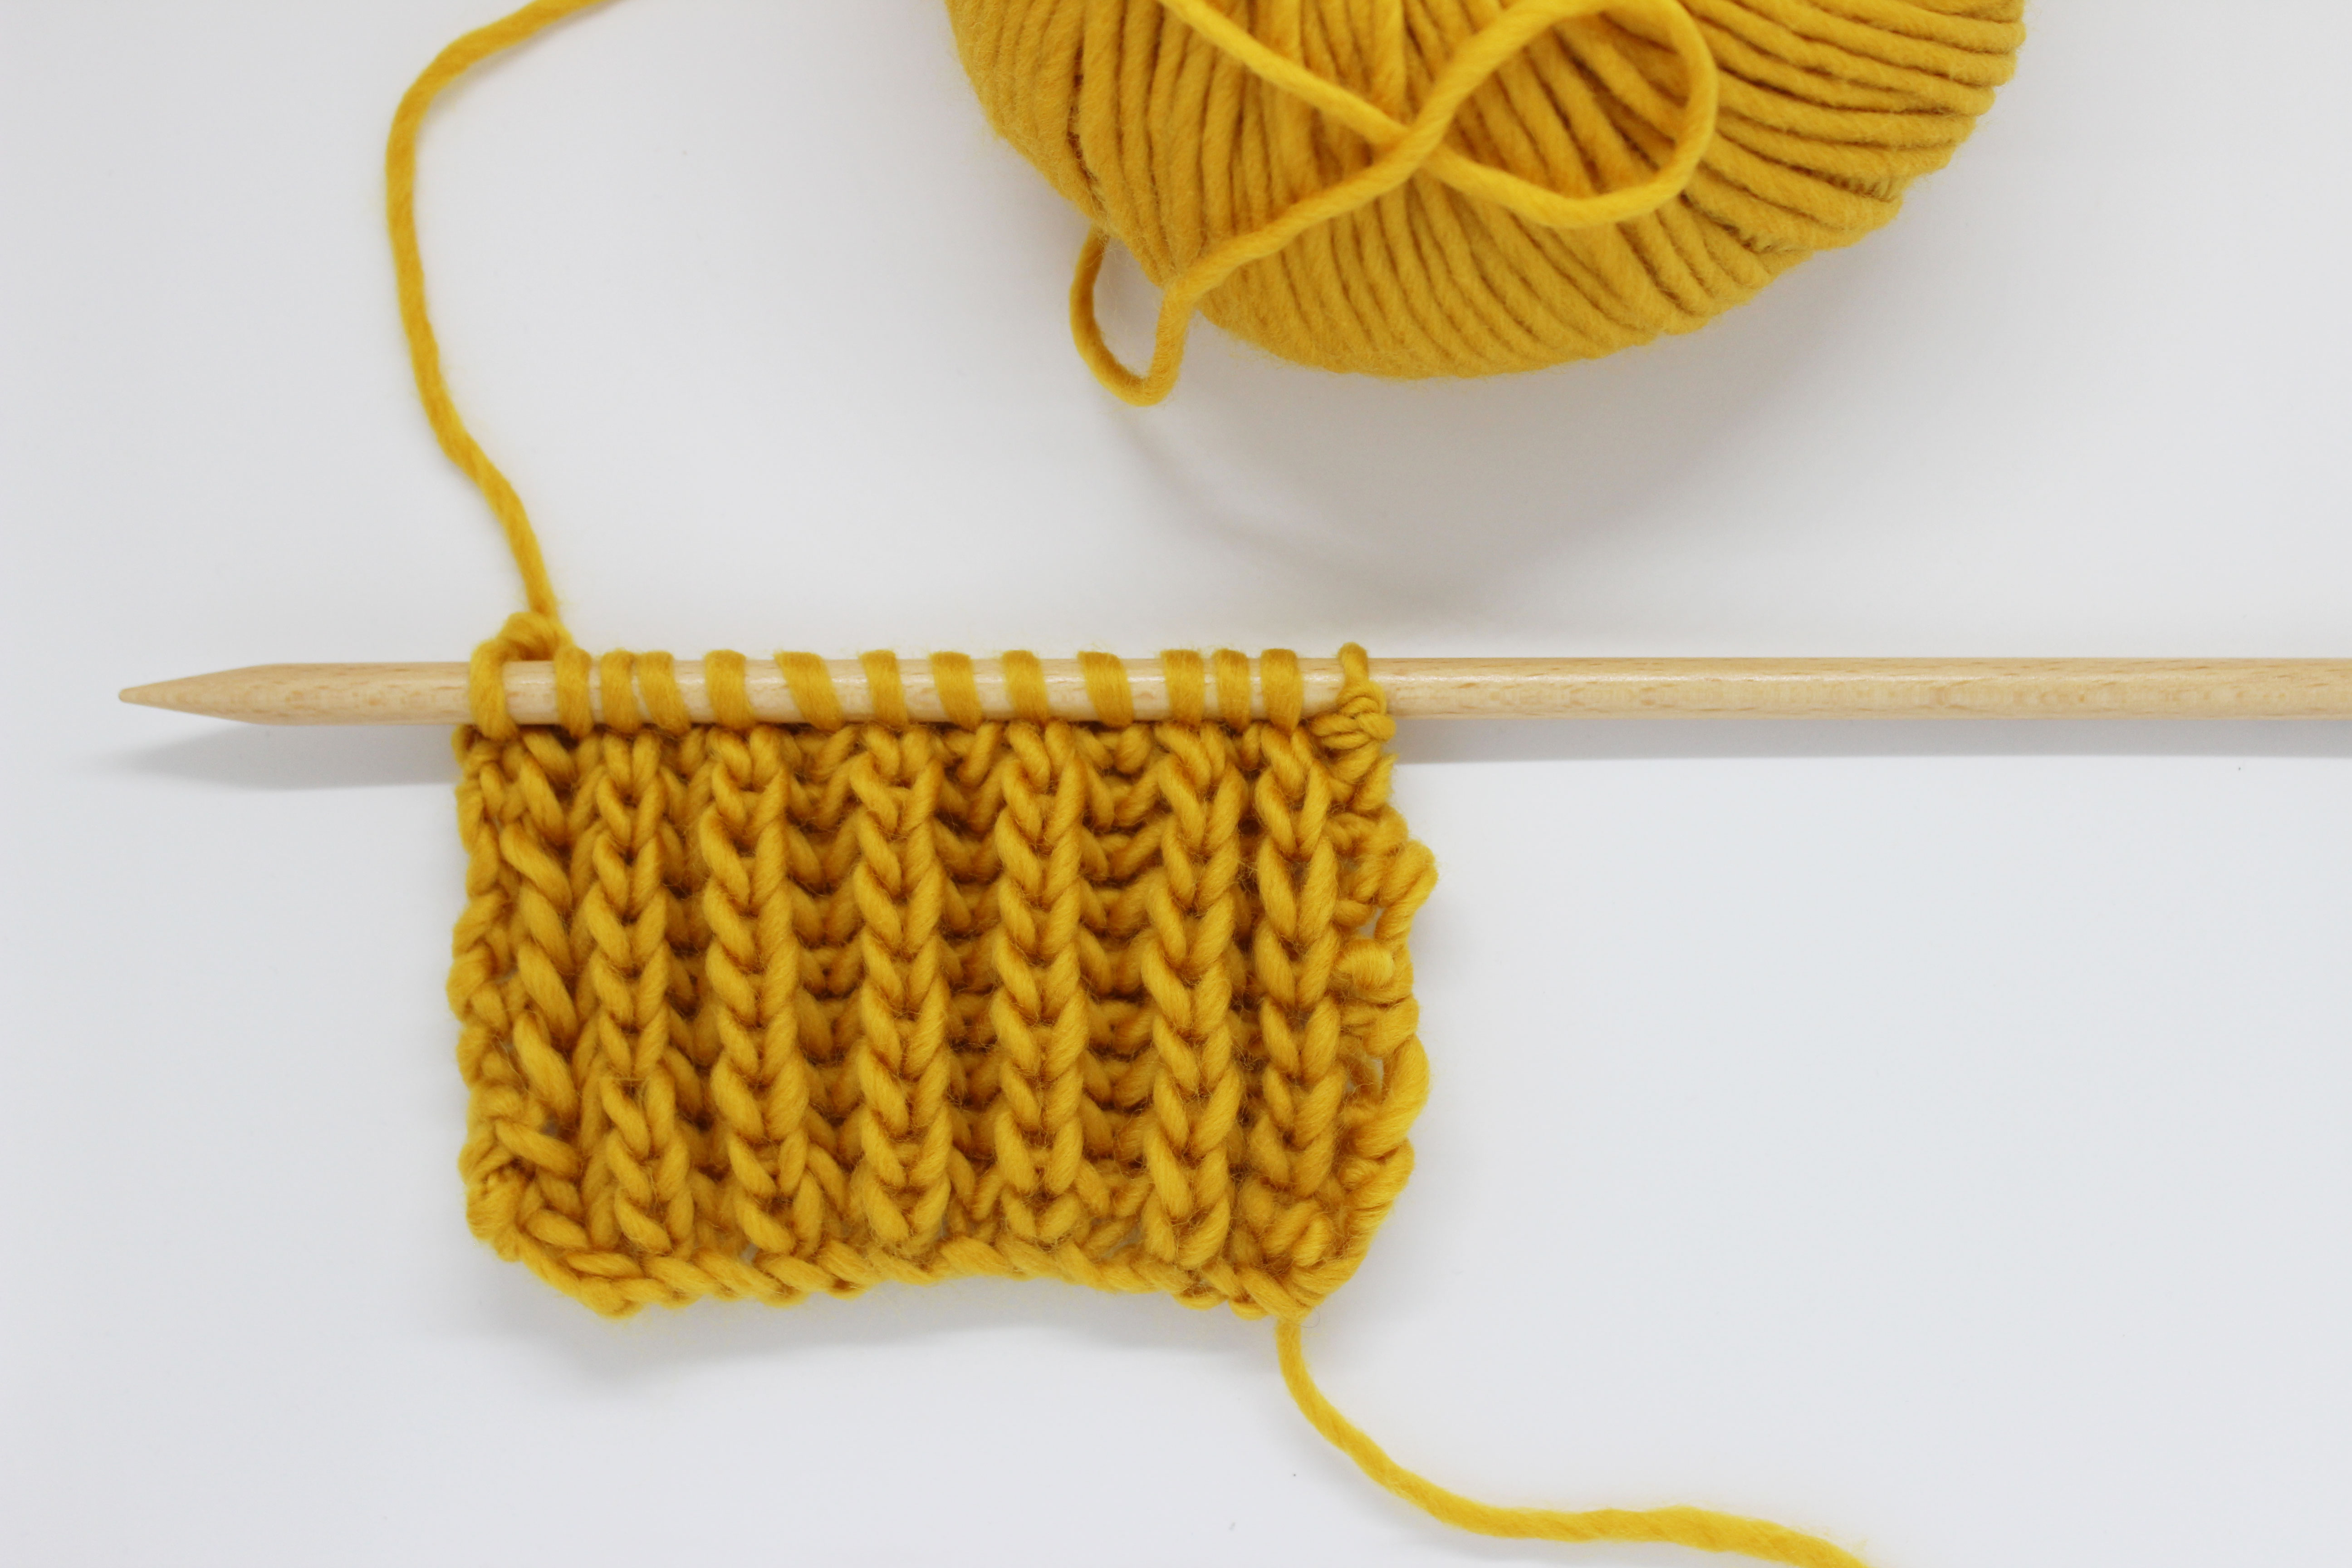
We start by casting on an odd amount of stitches with color A.

Row 1 (right side of the work):with color A, knit the first two stitches, *next, with color B, knit 1, and knit 3 more with color A*. Repeat from * to * until there are only 2 stitches left on the needle, knit them.
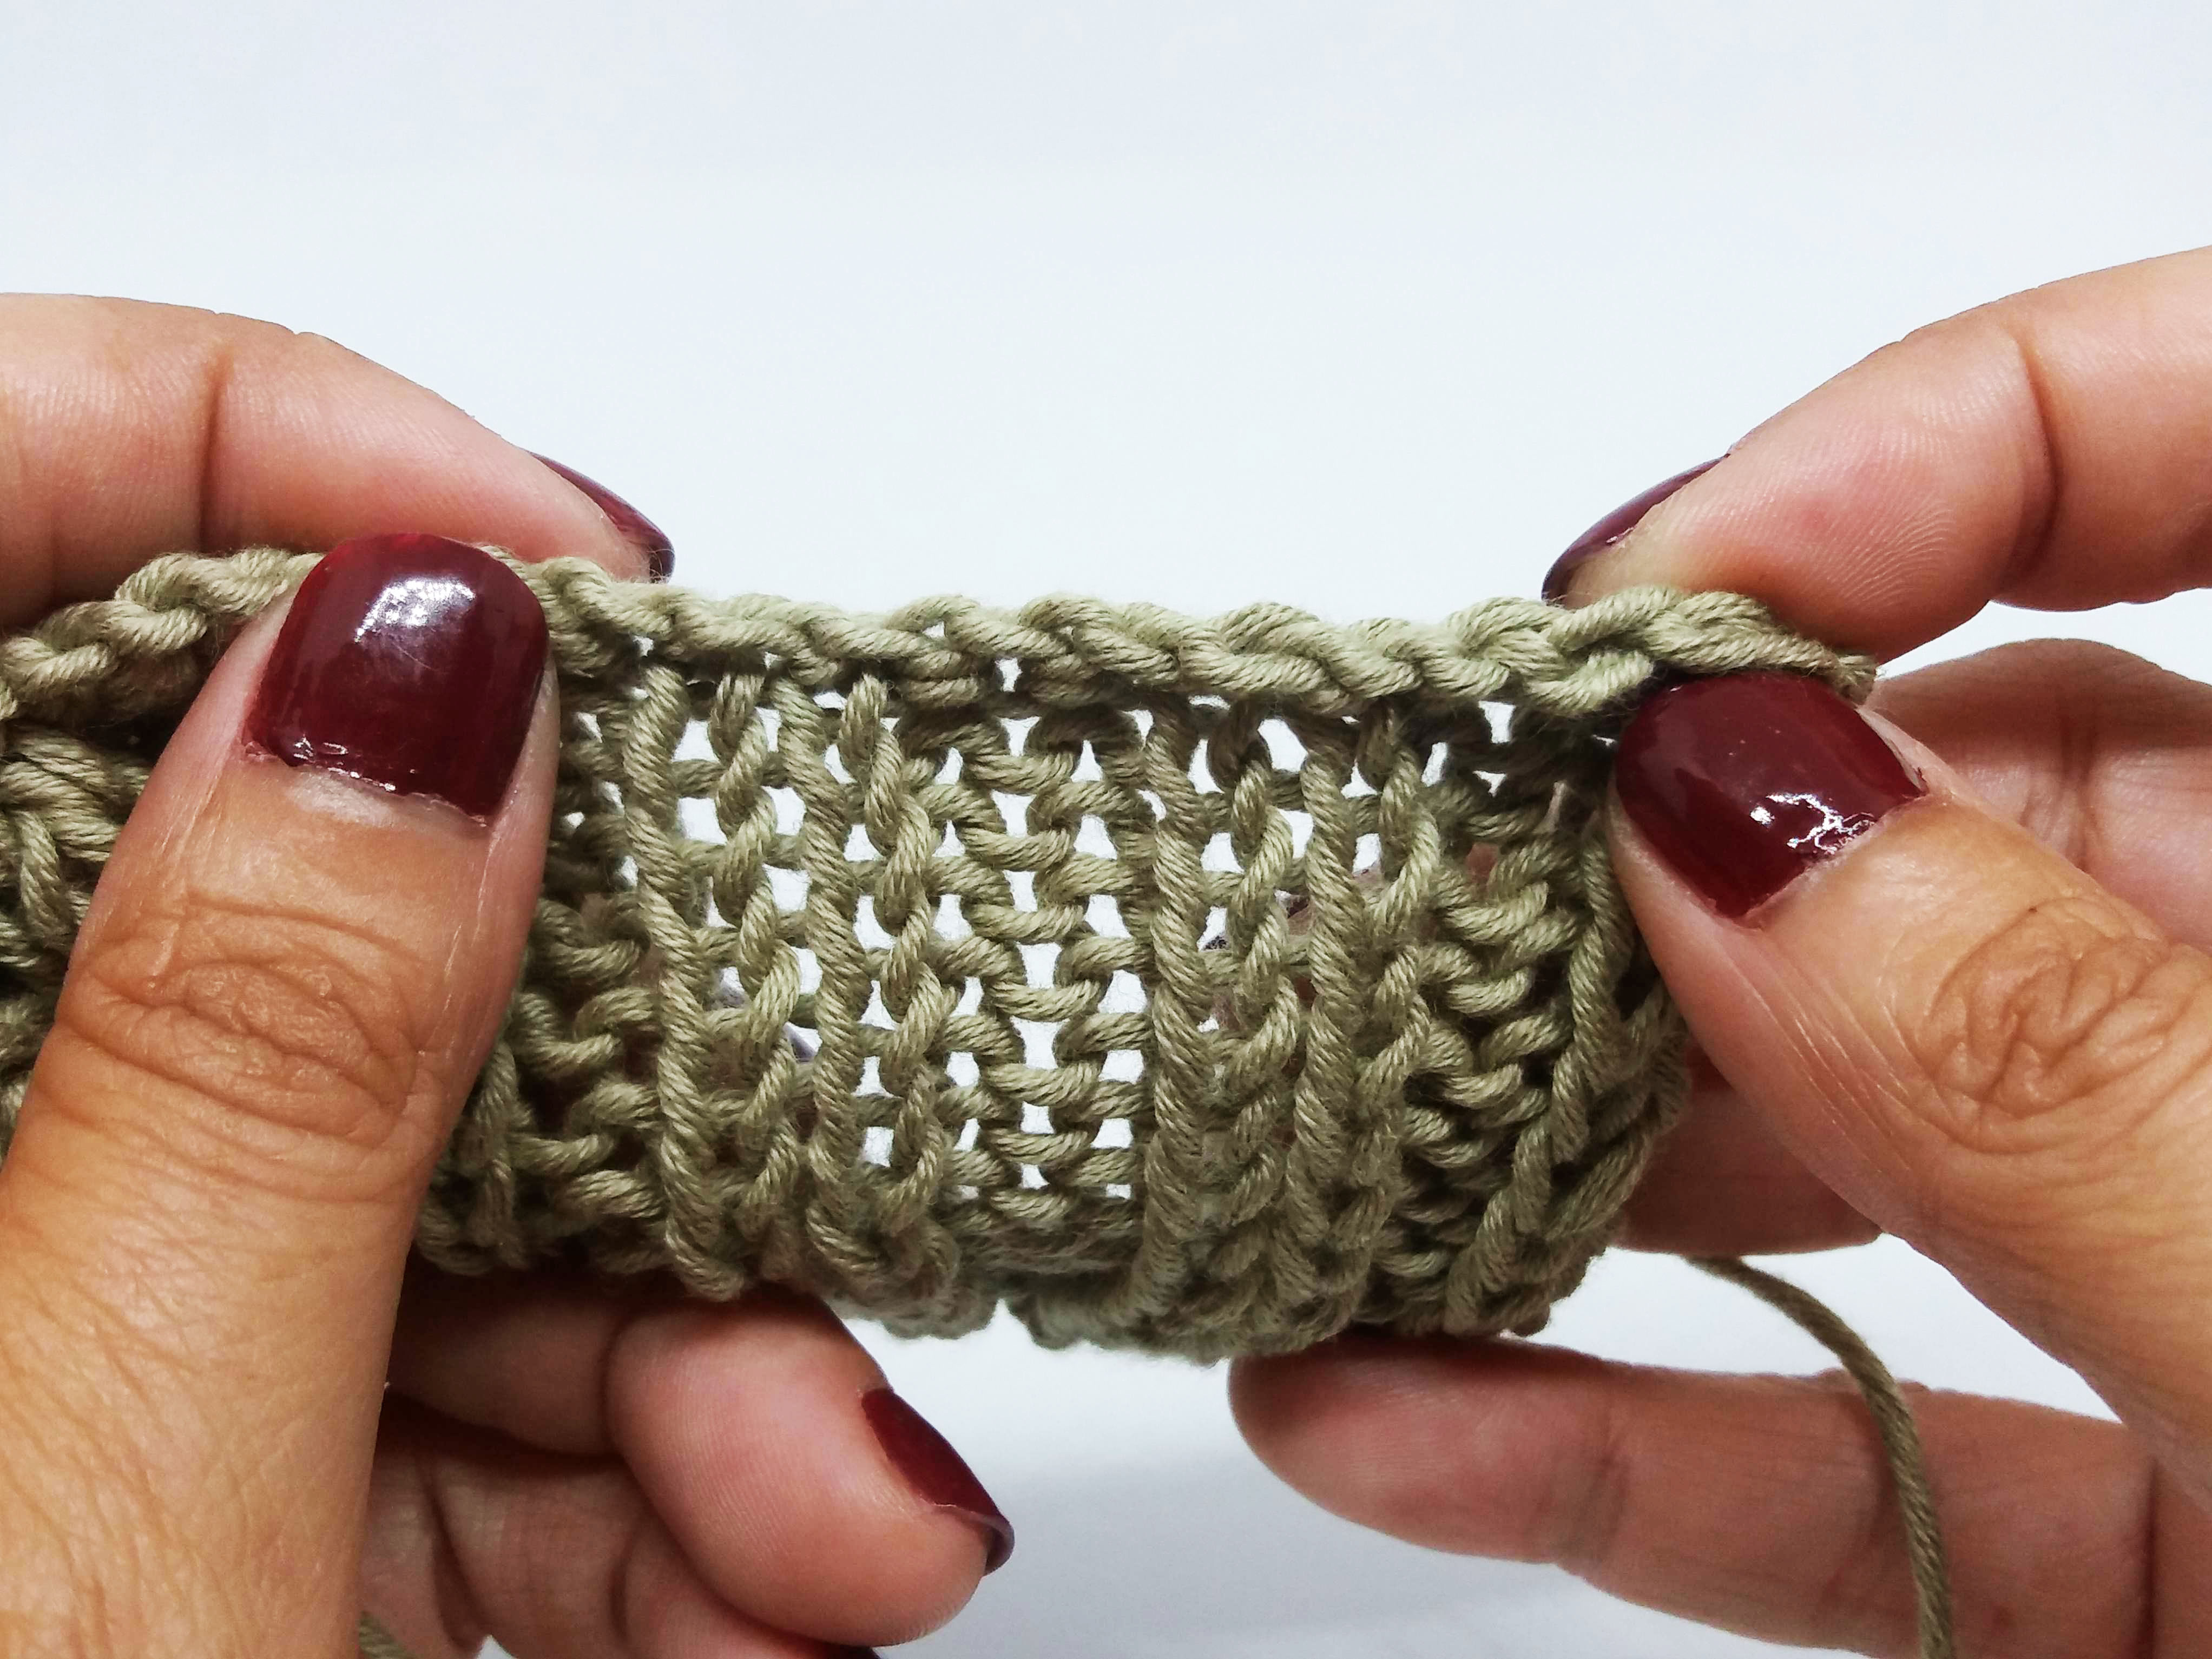
If you are unsure about how to properly place the strands on the color changes, at the end there is a post with a little tip so you see how it’s done 😉

Row 2 (wrong side of the work): with color A purl the first 2 stitches of the row, *next, purl 1 with color B and with color A purl 3 more stitches*. Repeat from * to * until thee are only 2 stitches on the needle, purl them.

Row 3 (right side of the work): with color A, knit the first stitch of the row. *next, knit 1 with color B, knit 1 with color A*. Repeat from * to * until the end of the row.

Row 4 (wrong side of the row): with color A purl the first stitch of the row, *next, purl 1 with color B, purl 1 with color A*. Repeat from * to * until the end of the row.

Row 5 (right side of the work): *with color B knit 1, and knit the 3 following stitches with color A*. Repeat from * to * until there are only 1 stitch left on the needle, knit it with color B.

Row 6 (wrong side of the work): *with color B purl 1, and purl the 3 following stitches with color A*. Repeat from * to * until there are only 1 stitch left on the needle, purl it with color B.

Row 7 (right side of the work): *with color A knit 1, and knit 1 with color B*. Repeat from * to * until there are only 1 stitch left on the needle, knit it with color A.

Row 8 (wrong side of the work): *with color A purl 1, and purl 1 with color B*. Repeat from * to * until there are only 1 stitch left on the needle, purl it with color A.
How to place the strands in color changes

Remember that for the wrong side to as polished as possible and for the skeins don’t get tangled, color A must always be placed over color B on the Right Side rows.

And that you must keep doing this in the Wrong Side rows: color B must always be placed over color B.
Also, keep in mind that you must be careful not to tighten too much when you change colors, so the work does not end up shrunken or has tension changes, which will make it look not so great. If needed when changing colors and you work the corresponding stitches, lightly stretch your work so the strands in the back arrange themselves.

Do you want to lengthen your work, repeat rows 1 to 8 as much as you need to.
It’s very fun and at the same time it’s a bit difficult to work a stitch pattern in two colors, but also it’s gratifying to see the obtained results and the infinite amount of project you can do with it. We will be delighted for you to share these projects in social media with us with the hashtag #weareknitters.