Today we bring you a step-by-step tutorial where we will teach you how-to pick-up stitches along an edge. This technique is very useful as it will allow you to size your garments as you like, knit collars and button bands on your jackets. Grab your needles and let's get started!

For this tutorial we used a skein of our Pima cotton and a pair of size 8 beechwood knitting needles.

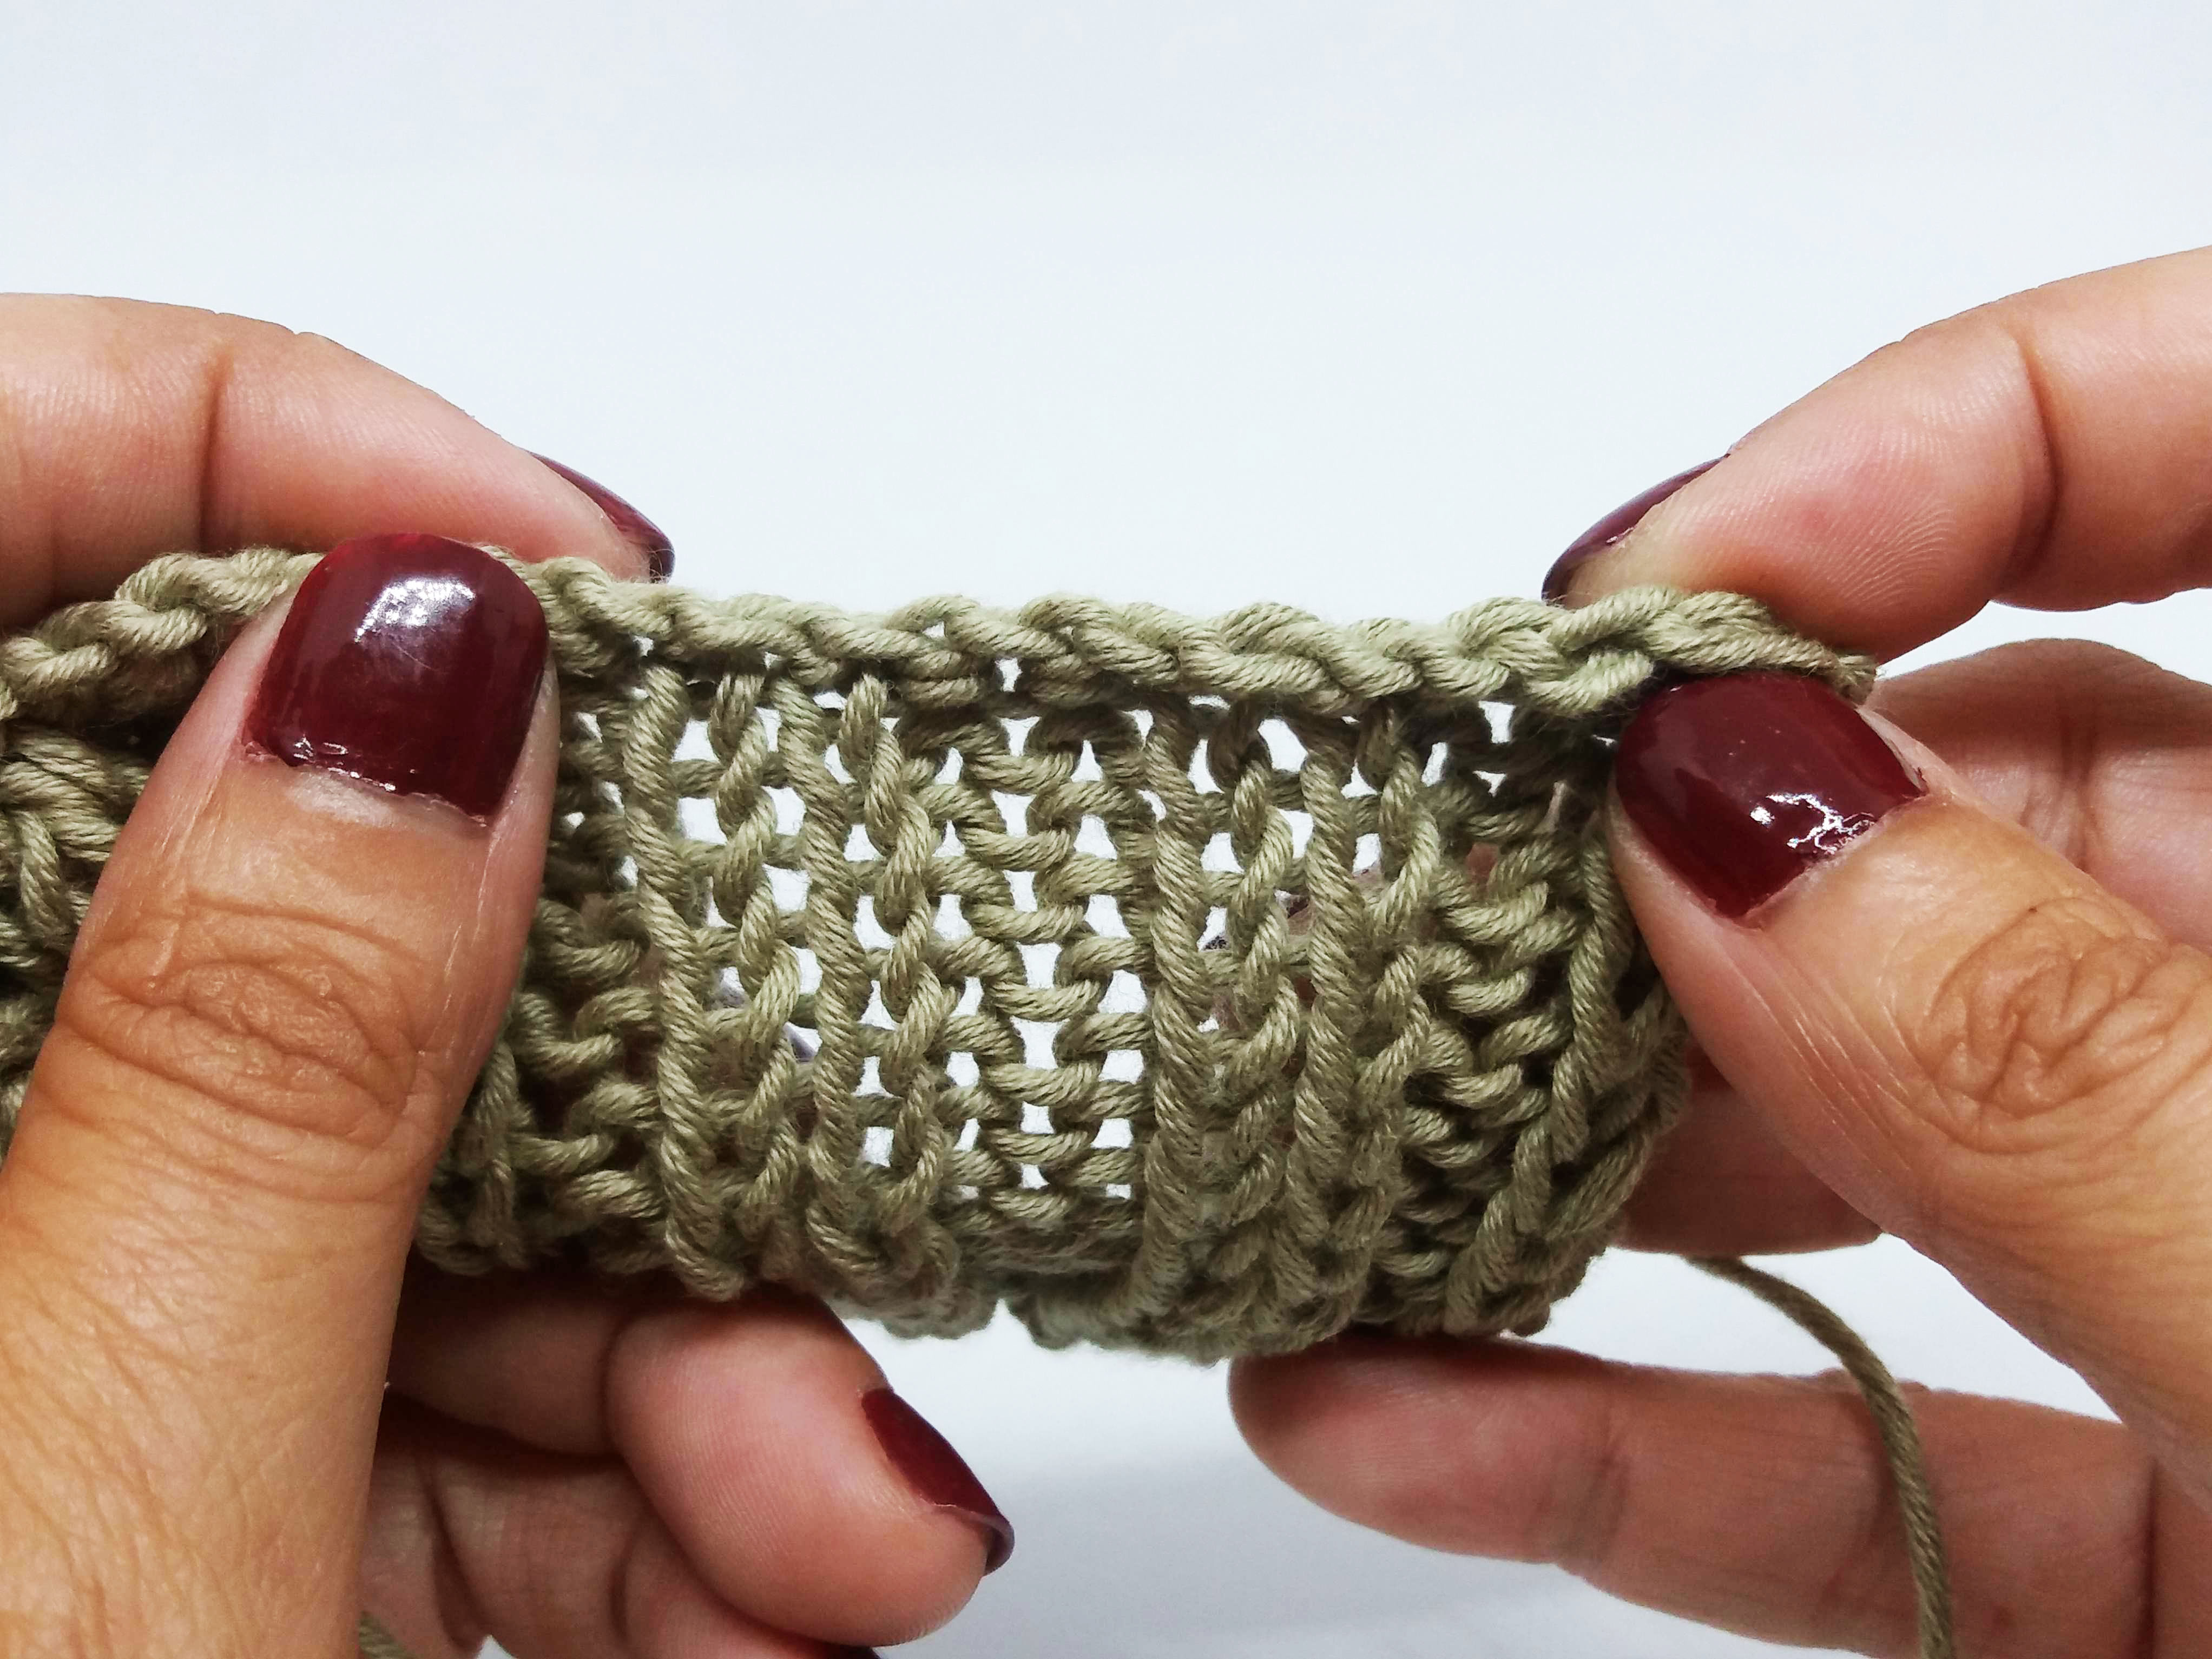
Your fabric should look like the one in the image above, just finished

Now place your work, right side up, in front of you, with the edge where you will pick up stitches on the top.

To pick up the stitches insert the needle on the right side as shown in the image above: picking up the whole stitch on the edge.
Pick up the stitches so that: we knit 3 and skip 1, continue in this way until the end.
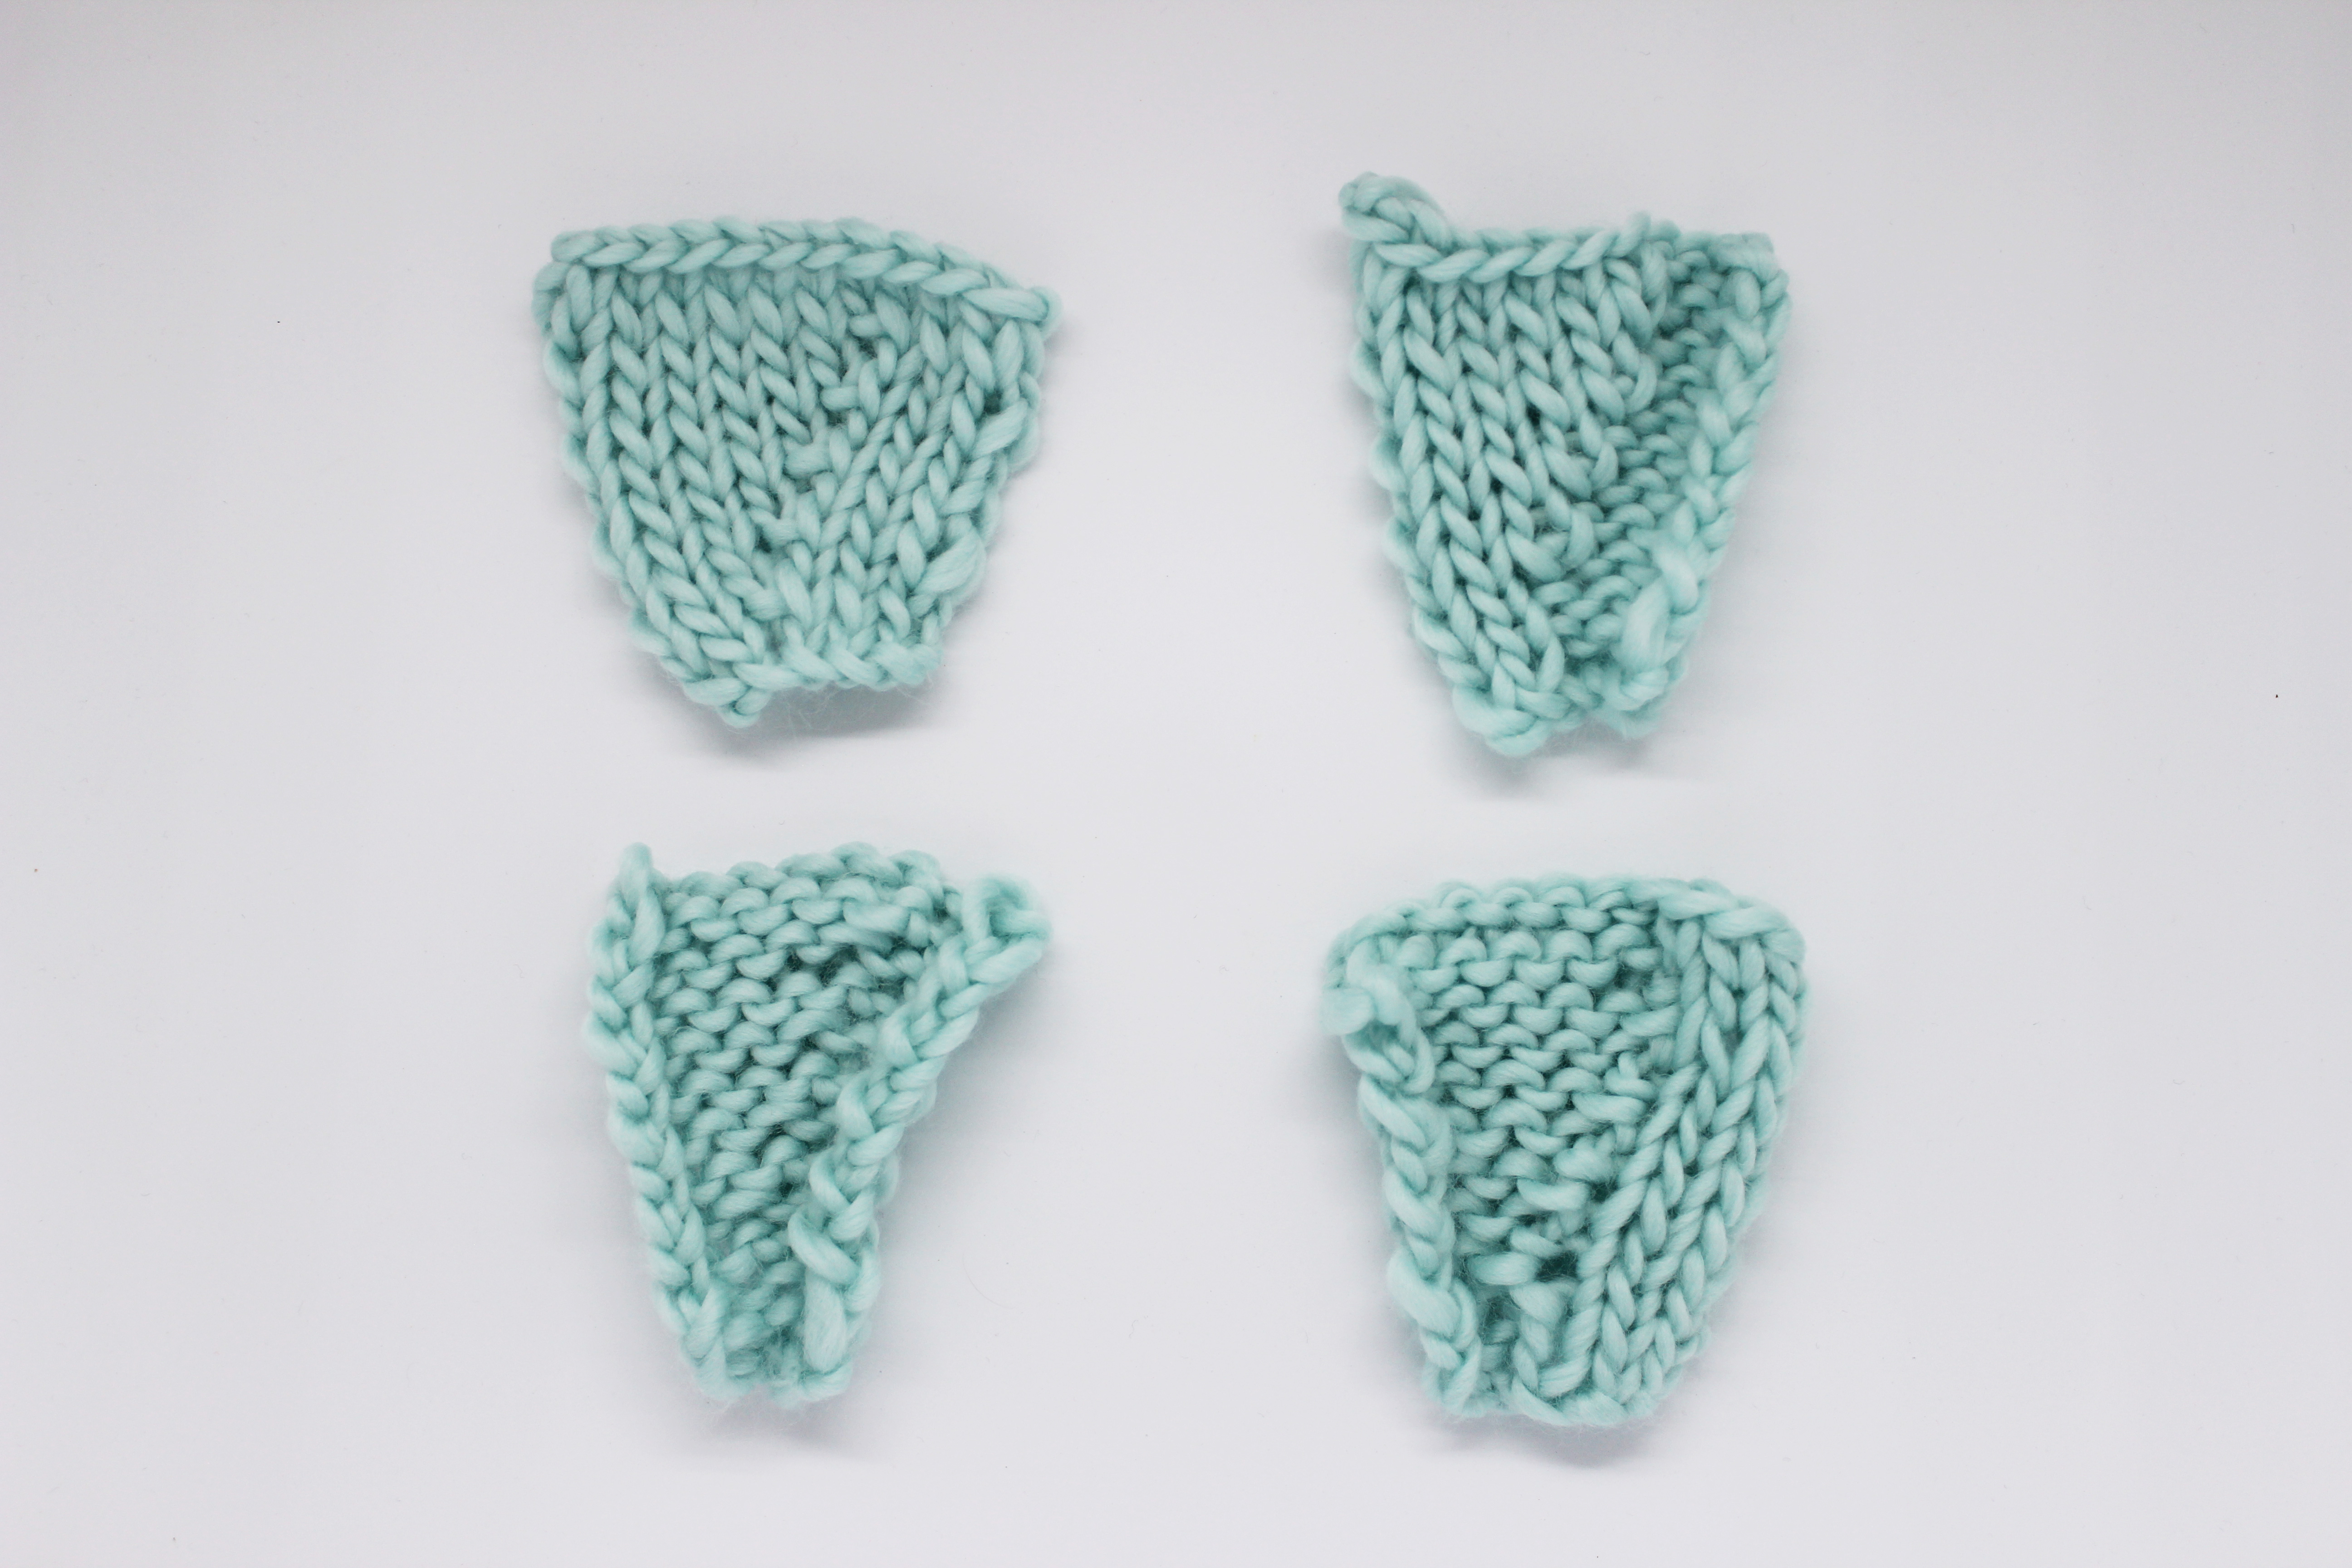
The number of stitches we knit is not always the same since the idea is to compensate the edge with the stitches we skip so that it fits along the piece: you can do it by knitting 1, 2, 3, etc. and skipping 1. If we pick up all of the stitches from the edge, when we knit it, it would have a “ruffle” effect, because the edge we knit would be longer than the edge of the garment.
To see how it is done more clearly, we made a video for you. Hit play to pick up stitches with us!
Remember to knit the stitches as you pick them up.

In the image above you can see how the it looks as you work along the edge.

Once you have picked up and knitted all of the stitches along the edge, the right side will look like this and…

…the wrong side like this.

Now you just have to knit the stitches on the edge using your preferred stitch and when you reach the desired width, bind off. That easy.
We hope this new technique will be very useful to you when knitting your new garments. You already know that we are always delighted when you share everything that comes off your needles with us on social networks using the hashtag #weareknitters.


